zondag 30 april 2017

Rusian Partisan artillery

I spotted a great topic on the LAF about Russian Partisan artillery. Well, not so much artillery as more Anti Tank guns. But still. The poster, Cuprum, posts excellent Russian photos from time to time.

To make life easier on me for later, I've decided to keep them here as a reference :)


 As it is, I have no lack of Russian AT guns and mortars, and the to my habity of basing everything individually I can just grab it from my normal Russians.

The winter versions are very interesting though (the chance of me ever doing something wintery are very remote)


Germans used sleds too.


And if I might need it some day, a detail shot of a Russian sled.


zaterdag 29 april 2017

Past and Presents

First up: thx guys. I appreciate your comments on the previous post, it means a lot to me. I'm looking forward to my new job, I hope to sign the paperwork next week to finalise everything. Scared shitless, but hey.

Hobbywise, I'm really pushing myself. I received 2nd hand Britannia WW2 japanese, dug out my lot of once bought Taliban, unpacked my latest order from Grubby tanks of 2 bags of Soviet and Yugoslav partisans and cleaning, sanding and basing the lot of them. I just want to get them all cleaned and based before my new job starts.

 Partisan all based and sanded, Japanese all based up and ready for filler on the bases, and some Taliban already sanded. I'm using mostly 1 euro cents, but the comms unit and the HMG are getting 2nd choice MDF bases....I can always drill in a hole later to mount a magnet.

 Ol cast Britannia tank (but even that has a few bubbles on the running gear that I need to fix) and my first fully based HMGs. Crew is seperate for casualty removal.

 Taliban waiting their turn for filler and sand.

Everything I fillered tonight, now in the process of adding sand, all Taliban that one, including some Tier 1's.

And in the mail yesterday, a gift, stickers for the Gaslands dice:

...so I put my blank dice to good use. Now to build more cars.

So far I've found 3 interested locals, trying to arrange a date soon for a playtest. Good for motivation.

Also good for motivation was this....a local chap was selling over 100 kits in one go, I sent him a wanted list and I managed to get almost everything I wanted, bar 5 kits.

4 T-72M1's for my Republican Guard, 1 T-55 for a roadside, wheelless wreck that I will make as generic as possible, M60A3 for reasons, Anti tank on=bstalces for Normandy, Caesar SiG-33 for my germans, Zil-157 for use as a civillian truck, US 2,5 ton truck in a bag on top.....most likely a late war captured one for my Germans, more boxes of bombs, racks and gunpods, 2 boxes of 105mm British Light Field Guns, for again, reasons,  and several ICM kits, some to become civives, others to become command and militia vehicles. I have another big box to pick up next week, trading old GW tat for that. Also in the mail is a 1/720 Prinz Eugen (to get proper naval artillery support for a future Kurland book perhaps?), a 1/700 Japanese Destroyer for reasons and finally, my first Revell T-55 which will be modded quite a bit.

So busy, so much to do but really enjoying myself. Stay tuned for more!

maandag 24 april 2017

I've got a job!


I've managed to bag one commision for building a 10mm Afghan village, with a maybe for a 20mm Middle East village, but that is not what this is about.

I've got a job! Starting May 15th, 3 days a week as long as I'm still going to school as well, so I can combine theory and how it's really done, and when that is done work my way up to 40 hours a week (If I fit in and everything works out, of course).

So, jay!

More news later this week (a lot more hobby related as well)


zondag 23 april 2017

Production is up by 100%

Despite a general feeling of confusion and insecurity due to either no news or too much of organisations (yes, pretty vague, ey?) I'm just goping ahead every night with a bit of cleaning, a bit of listing, and a bit of hobbytime. I'm slowly going through the boxes I have in the room, taking pics and listing them in the right locations. I am noticing that people are really tardy with paying. Quick to reply when something is listed, but easily taking up to a week or more or eseveral emails before they actually pay. I need to add a bit about payment due in 48 hours or the discount offer and reservation is cancelled, I've been having way too many non comms lately from people and it is pissing me off a bit.

Anyway, Erik (Modhail) was over yesterday evening for a chat, a cup of tea and some scenery talk. He got me some balsa and simple wire Cherry trees, and I got him a nice drill tool and his Samurai school box. While chatting, I built one of the trees on a base to see if we could improve it a bit. Some dabs with the hot glue gun, some soldering wire, and a splash of wallfiller and this was the result:

I just realised this is a shitty pic. But you can clearly NOT see the shitty twisty wire this tree is made of. The roots are soldering wire, trimmed to size and coated with woodfiller, just like the tree trunk. After Erik left I did the rest as well.

Now I need to paint and drybrush the bases and the trees, and fixate the clump foliage by soaking it with watered down Modge Podge.

I also built a bridge.
A 20mm/28mm generic affair, steel girders and wooden, beat up, planking so it really fits on every table. I'm building my bridges first, and will work on the river(s) when a  few of them are done so I can make a seperate base per bridge....I really hate it when people just lay a bridge flat on a river, I'd like to see some depth. But more on that later. I have more bridges to salvage from the junk box.....I'd really like to get my hand on 2 identical ones so I can make a longer one, but alas, sofar no luck. Maybe at the swap meets that will be all over the place next week on Kings Day.

And that's another night gone, chasing payments and filling out paperwork. Well, at least it ends with a smile. Kim lent my bottle of Alcohol (for the airbrush) and gave it back a few hours ago, and 30 minutes ago I wondered why my entire room smelled so badly of alcohol. She hadn't put the cap on properly so a bit leaked out and evaporated. Jay......


woensdag 19 april 2017

Proof of concept: Concrete Grain Elevator

I actually already have 1 grain elevator (still in eternal PIP mode) but that is a wooden 1900's model. I've been looking for something more modern to be used in post WW1 up to modern times, not perse as a center piece of the table but to enhance the industrial feel. Well, what better way then a colossal concrete moloch.

And no, I did not eat that many Pringles. They are way too expensive for something that is basically fried batter, and I rarely eat crisps anyway. No, my lovely village of Boxtel has 2 trading groups on FB, one for free stuff and another for stuff to sell, and both we use a lot to get ri dof unwanted stuff from the attic. Well, I posted an add on both for empty Pringles cans, and a couple of trips later I have way more then I need for now. Though apparently large Pringles cans come in different sizes and then there are the knock offs which are even smaller. Anyway.....

With the Stalingrad Gain Elevator in mind....this won't be that. I would need to doublestack the cans for that to get it even close to the height wanted, and make it considerably longer, and being limited in storage and to a 6x4 table, a close to scale one would be a tad useless. I have 60x40 storage boxes and this must fit in one or two of them. This setup is 25cm by 40cm for the storage part alone. Considering the available space I will add another row of Pringles cans to make a total of 6 in a row. 5 of the cans in the middle will be removed and replaced with a foamboard box, as the Granary will be 2 (or more) part for ease of storage and to increase it's usability on the table. A couple of magnets should make sure they just slot into place.

It will be a undamaged one and have no lift off roofs. Considering the types of games I (want to) play, I have no need for that and this eases construction a lot. When it is done I do feel like making a new front end, but with war damage and open bits to put troops in.....but to be honest, I doubt it would see more then a sniper, HMG or spotter team using it.

It will be a multiple use building. Window size will be between 20mm and 28mm and moslty at the higher levels so less noticable. It will be suitable from post WW1 to modern days. It should do fine for Historical as well as Sci-Fi (thinking Necromunda here and walkways from other buildings leading there).

I'm not sure when I will start it. I have 2 possible comissions (more about those later) as I really need the funds, and I want to get those out of the way first. I've also started selling my Games Workshop scenery to push myself to making my own as the GW stuff is really underscale (and sells for a lot of money, very welcome!)

And in other news, I found this beauty today:
 (yes, I need to clean my desk - working on it) 35 cents at the goodwill. Repaint, fill the pool with murky water or blood? Great for Pulp in both scales, dungeoneering or the future Archipellago version of Frostgrave.

Not the best picture, as the VC is kneeling, but when standing up it fits rather well. 1955 Panel van from Matchbox. I found 2 of these, so a weatherin/new paintjob and it should be suitable for a lot of locations.

And now back to listing stuff, cleaning and sorting.


maandag 17 april 2017

Japanese fortifications: Focus on the 8 inch gun - Wake Island example


Since I want to make some proper Japanese defences to fight off the inevitable US invasion on the wargames table, I've been googling ( as I have no books on this subject matter) the various Japanese held islands. I'm doing this in no particular order, and I'm starting off with Wake Island as it is pretty limited defence wise.

Wake Island as it is now:


Bit of Wikipedia here:
Wake Island (also known as Wake Atoll) is a coral atoll located in the western Pacific Ocean in the northeastern area of the Micronesia subregion, 1,501 miles (2,416 kilometres) east of Guam, 2,298 miles (3,698 kilometres) west of Honolulu and 1,991 miles (3,204 kilometres) southeast of Tokyo. The island is an unorganized, unincorporated territory of the United States that is also claimed by the Marshall Islands. Wake Island is one of the most isolated islands in the world and the nearest inhabited island is Utirik Atoll in the Marshall Islands, 592 miles (953 kilometres) to the southeast.

 On December 11, 1941, Wake Island was the site of Japan's first unsuccessful attack on American forces during World War II when Marines, Naval personnel, and civilians on the island repelled an attempted Japanese invasion, sinking two destroyers and a transport. The island fell to Japanese forces, however, 12 days later in a second attack, this one with extensive support from Japanese carrier-based aircraft returning from the attack on Pearl Harbor. Wake Island remained occupied by Japanese forces until the end of the war.
 Fun fact: From then on the Japanese called it Otori-Shima (大鳥島) or "Big Bird Island" for its birdlike shape.

Not so fun fact: The Japanese captured the remaining defenders, civillian and military, and deported most of them to POW camps, retaining a small amount of civillian labour.  And later in 1943 executed the remaining 98.

So, never recaptured during the war (just repeatedly bombed), what good is a review of their defences? Well, I got to start somewhere...

Google Wake Island and you'll see quite a few pictures of this:

  Japanese (well, technically British) 8 inch gun on Peale Island. These were obsolete guns dismounted from ships Japan had bought from the UK before WW1. This you will see on many of the Japanese held islands. It's in a really bad condition, most of the rear superstructure has rusted off, and it is mounted on a either a concrete mount clad with steel plates or a full steel box mount.

Wikipedia tells us:
 The American captives were ordered to build a series of bunkers and fortifications on Wake. The Japanese brought in an 8-inch (200 mm) naval gun which is often incorrectly[14] reported as having been captured in Singapore.
Just one gun.(though I have other sources telling me the Japanese brought in 4 of these guns, like this source: www.navweaps.com )

Studying Japanese coastal artillery, and in particular the common 8-inch gun, I found this page very helpful: 8-inch Coastal Defense Guns by Dirk H.R. Spennemann  even if it focusses on Micronesia, it shows all of the types of 8 inch used and the styles of cover they used and their mounting positions, mostly in pairs.

Using the indegionous Japanese made variant of the British Elswick gun, the 20.3 cm/45 Type 41 naval gun. This is it:
Dimensionally, the barrel is 9.114 metres in length, so in 1/72 that is 126mm

For Wargames purposes, I think I should build 2 guns of the fully enclosed type as this cuts down on the amount of details needed, magnetised base, with a few different baseplates depending on the location of a future game (if that ever happens). The look I will go for is the Sapuk #1 or #2.


 Sapuk #1 (left) and Sapuk #2 (right)

They are not terribly elaborate shapes, easy to make in plasticcard. Openings will be plated over with a spacer and painted black. For the barrels I will need to either find a suitable gun shapewise and modify it or find someone with a small lathe and woodworking skills. The closed shape and generic paintjob will make it suitable for what-if conflicts as well. EDIT: another very cost effective methos is using a 1/35 scale 10.5cm LefH18 tuned barrel. They only cost 3 euros a piece and are a tad short, but part of the barrel is inside the turret anyway so that is sorted. I can add the fluted end with some Milliput and some minor DIY lathe work.

And that's enough for today. The first VC have been cleaned, based and a few barrels upgraded to metal pins for safekeeping (mostly the M3 Grease Guns) and put in their holding box. Next up is the bag of Taliban.


zondag 16 april 2017

Spending Easter in a proper fashion, sans eggs.

Right, after clearing a bit of the atic and a lot og my hobbyroom like a rabid ferret on Red Bull, I've got in my hobbyroom this monstrosity....

...and all of this needs to be sorted, bagged, tagged and put online for sale. Of course, that will happen after Easter, cause right now is family time. And after a day spent with Kim and the kids and a guest and delivering a killer cola marinated chicken I spent some time in the hobby room with todays arrivals. Cause yes, I have bought stuff. And all of the stuff that had arrived today is now cleaned, built and based.


I received some Viet Minh, to be used as low class VC. Just sanded the bases smooth and stuck them to 1 euro cents with the exception of the LMG, that I put on a miscut 2mm MDF base. When everything has dried I can get to work on the mould lines and find a solution for their heads as every single one of them, with one notable exception, comes with a straw hat. And the bareheaded guy has it on his back...... So I need to find somesuitable heads and use Oyumaru on those to get some proper heads, and I can remove the straw hats or slide them onto their backs, but booney hats would be nice too. I think I have some of those in my Liberation Models box. All Britannia figures these, rather nice, and they should look fine with some work.

The tents, firepits and well are from this set:
The set is from 2010 but easily found on Ebay, not so much in local stores. Not that I need more then 1 set now. Built in all in less then 30 minutes, then some cleaning after the glue had set, cut bases, added and and aned the tents sides smoorth. When ready it will go right in the 20mm Desert Village/City box, until needed. Really nice items, should set you back around 10 Pounds for a box.

Also found a ladder that I had made back then when Mordheim was released. It was bases straight up ona  piece of 3mm plastic foamboard I've long since given to Modhail. Removed that base and made a new minimalistic one for Morheim. I also found some really thin wood that I will use in the same manner for fences etc as it is perfectly 20mm scaled.

One of my pick ups for today from the charity shops, besides 2 more bags of very thin lenghts of wood, are a bag of beads for 5 cents, a cookbook holder which is perfect for mty book collection and a large sheet of woven grassy fabrik, and the pattern will not look out of place on a building from a county in the Pacific. The beads make very fine for sale items at the various shops that I want to build.


That is all for now folks, might be back tomorrownight with more news! Enjoy your Easter!

vrijdag 14 april 2017

Rocketpowered Yoyo!

No, I don't have one, but I'm acting like one.In the past 10 days I've gone from major misery to being so happy to the point that it pissed off Kim. How come?

-Letter from the UWV. 18 months after the accident, due to circumstances we can only send you this letter now, but please fill in all of the details about the accident. No sorry, no please, just that I must return it in 2 weeks time. I tried remembering things, but all good it did to me is make me very anxious, scared and restless at night....I have not had a proper nights rest for almost 2 weeks. But I'm working on it.
- I passed the Windows Office (Word, Excel and Outlook) course of my training with a 10/10, so yeah :) Next exam is in 6 weeks.
-My hobbyroom looks like Katrina passed by, followed by some stomping of Godzilla. Working on it now.
-I've made a brilliant thing (if I do say so myself) after a brainwave, only to realise it's really NSFW so I might get into a tad of trouble showing it. I will, I just want to paint it first for a change. I'll let you know when I do by using big honking letters for NSFW on the top.
-I've been putting all of my trades, swaps and purchases in a Excel sheet, and was a bit shocked to see how much money actually goes back and forth. And how much is spent on shipping. Real eyeopener, in a baseball bat to the head kind of way.
-We made a new agreement about the stuff in the attic. After we sell the content of the box, the box gets sold as well so I can't refill it. 
- Still no news about the job I had a interview for. Well, that's not really true, I called the job agency twice, and as far as they know I'm on top of the list, I've ticked all of the boxes except the one for technical know how.....I don't see that as a problem, it makes it easier to just learn their technology, that's how I feel anyway. Patience is a virtue.....

But back to the hobby....

My care package from Chris (my stash adress in the UK)  has arrived and I want to get cracking on most of it asap. And sort the rest into their respective project boxes. More about that later.

The decals arrived to pimp the Hinderburg Zeppelin that I want to use for Crimson Skies. The slight issue now is that I can't seem to decide to go with 1/300 or 1/600 for that. If you have any ideas about that, let me know, as I'm a bit stuck. Well, edging towards 1/300 purely for visibility, but hey.

I've been rather busy with making stuff for Gaslands. Very busy.

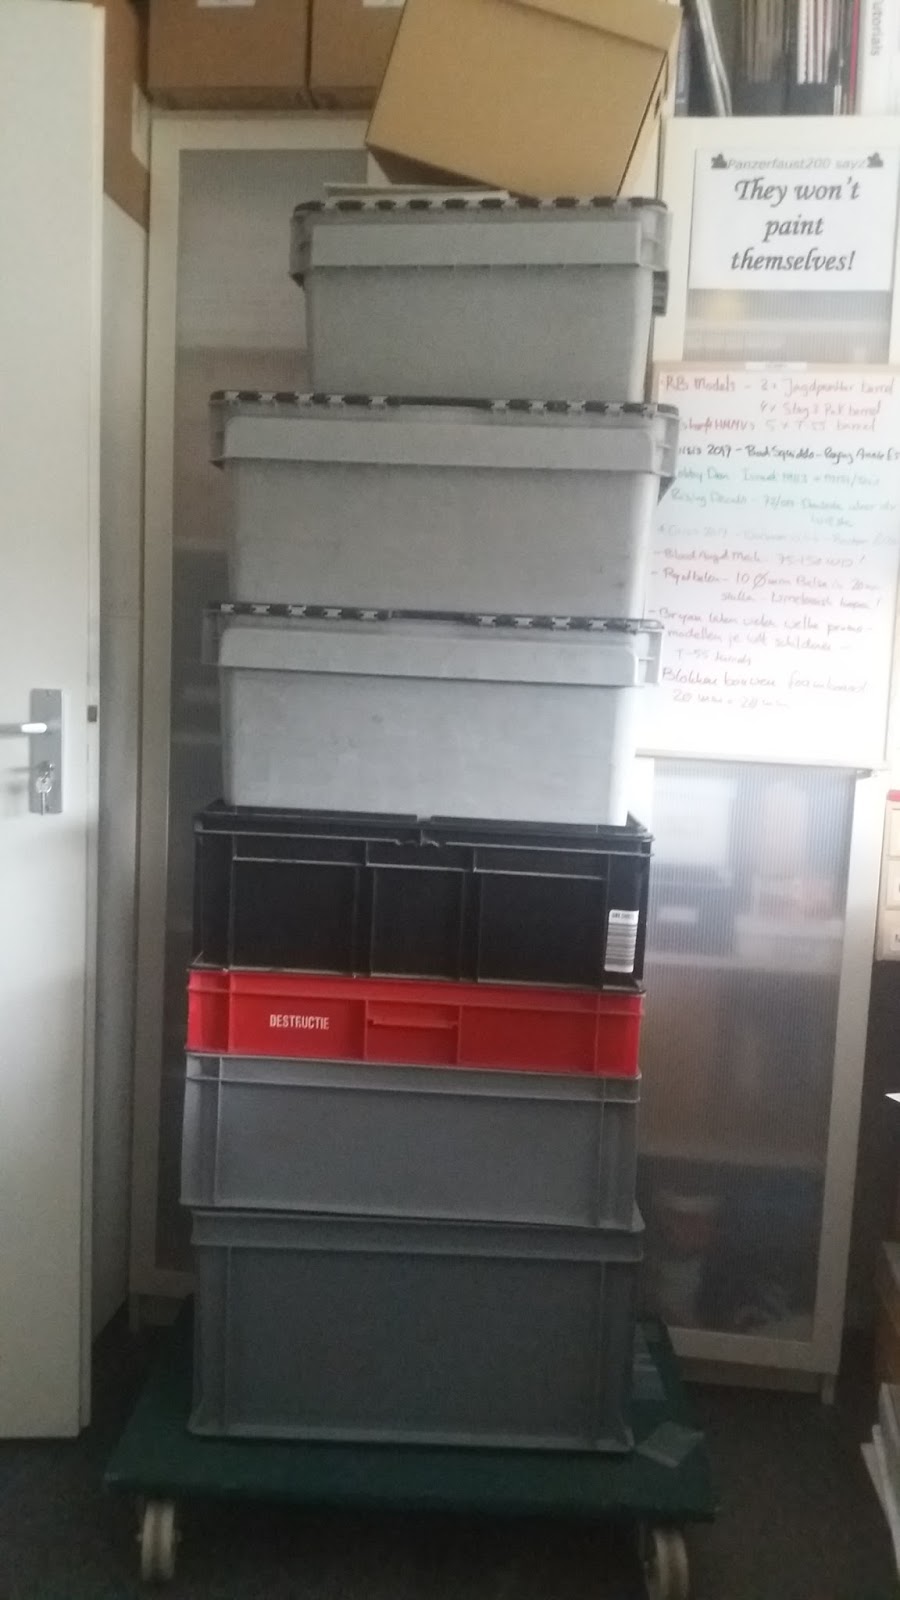
I've angered the Kim godess by buying a 5th (second hand) whiteboard for my hobby room. The pleased her by showing her they are now labelled for my needs.

 Hobby - purely for purchase/trade notes and stuff to look out for.

 Blog - I have so many ideas I want to Blog about , this makes it a tad easier to get a overview right now.
The door board has become my idea board, of stuff I want to work on in the future or use for inspiration to make my own things.

The really big board is for notes etc, a bit of a mix of everything, and the small board next to me is for personal, job and financial related stuff so I won't be showing that :D

My trip to the second hand store was quite useful today., for 50 cents I got a bag full of really thick wooden kebab skewers, and 2 wooden...ehm....things used to display female stuff like candles, coloured sand and cat figurines.

They are made from a very lightweigth type of wood, so in my ind I can easily combine these with:
The freebie sheets of Styropor my mates gave me at Impact. Cut them into blocks and slabs, bin them in the pebble box and give them a good shake, and then glue them to the side walls of the now inverted wooden things. Repeat on top et voila, 2 stone docks/platform for various purposes.

Now I just have to do it, and my to do list is rather big atm. So lay off the coke and Youtube, and in with the tea and the craft knife while listening to the radio.

But enough of that for now, now back to clearing this apace pronto. I might Blog some more over Easter, I might not, so if I don't, enjoy your long weekend :)

dinsdag 4 april 2017

La Maison Chinoise

I picked up this book at the 2nd hand store yesterday for 50 cents. It's a 1980 reprint of a 1957 book on Chinese houses (and it's in French). I picked it up due to the scenery I am building for Japan and could use fsome ideas for Chinese stuff to go with the 28mm Osprey rulesset which features a pulpy Big Trouble in Little China feel (cleverly hiding that I have forgotten what the rulesset is actually called)

In it are drawings, photographns and maps of various types of Chinese homes, official buildings and temples of various groups. Considering the age of most of the pictures and the state of China after the Cultural Revolution, I doubt there is much left standing, if anything.

But hey, the book gives me quite a bit of inspiration for future builds :) Enjoy some of the pcitures I made from the book.


I do not like the Broccoli

Just quoting Futurama here....


Remember the Reindeer moss I bought a while back? Then did nothing with for a month? Then finally dunked in a glycerol-water and paint mix for 2-3 days? Well, I forgot about that too so it's been in there for almost 2 weeks.....Yes, oops. I spotted a few tiny spots of mould, so I tipped the contents in a sieve and rinsed it properly and put it back on top of the bucket to drain the remaining water.

Gone is the pale bleached colour, and now it's a much more acceptable mix of greens as some have absorbed more then others, and gone is the neon green of some of the bits. If the weather stays nice for a few more days I will put it outside for a bit so th remaining water can dry off and I can start with removing the pine needles and other assorted crap that is in it. Jay.

In other news, I passed my first exam in ages with a 8. Jay again :)